Why three layers
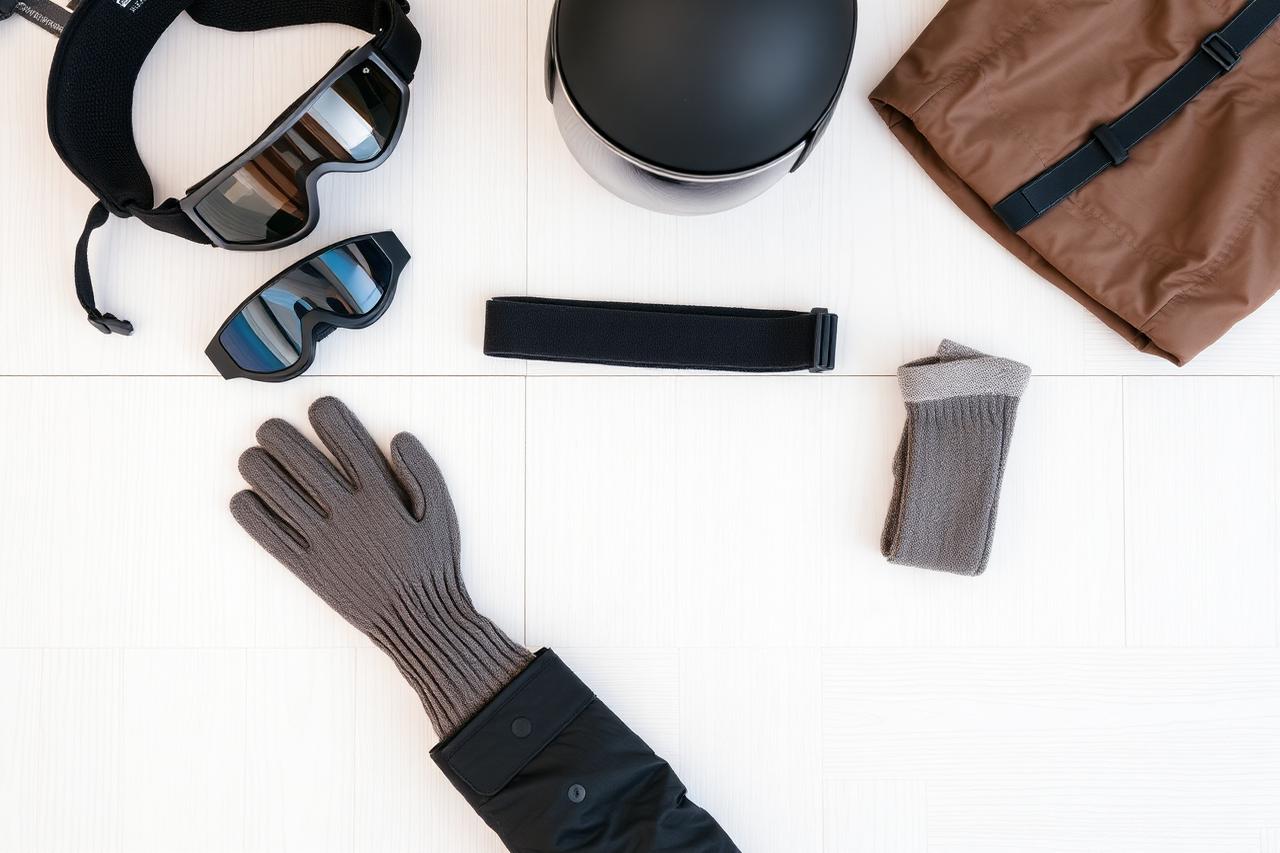
The idea is simple: instead of one very thick garment, you wear three pieces with different jobs. That lets you add or remove layers as the day changes — and it changes a lot.
The most common first-timer mistake isn't being cold: it's sweating in the first hour and then freezing in damp clothing.
Layer 1 — base layer
This is the piece against your skin. Its job is to move sweat away, not to keep you warm.
- Merino wool or synthetic fabric
- No cotton
- Snug fit, without squeezing
Layer 2 — insulation
This is where the warmth lives. Fleece, down or synthetic; the choice depends on the cold and on luggage space.
- A front zip helps regulate heat
- Packable pieces make luggage easier
- Down loses efficiency when wet
Layer 3 — shell
Protects from wind, snow and wet falls. It needs to be waterproof and breathable, with sealed seams.
What we do in practice
We leave with one layer fewer than seems necessary and carry the mid layer in a backpack. The body warms up fast in the first runs.
On our trips this setup worked well for adults and children — but everyone feels cold differently.
Terms in this guide
Technical vocabulary used above, linked straight to the full definition in the snow glossary.
- Base layer
- The piece in direct contact with the skin. Its main job is not warmth but moving sweat away from the body. Usual materials: merino wool and technical synthetics. Cotton is discouraged because it holds moisture.
- Mid layer
- The intermediate layer responsible for insulation: fleece, microfleece or light down. It is the piece you add or remove according to the temperature of the day.
- Shell / outer layer
- The outer layer, responsible for blocking wind and water. It can be a hardshell (stiff, no insulation) or an insulated jacket, combining barrier and thermal filling.
- Waterproof rating (mm)
- Measured in millimetres of water column. Around 5,000 mm suits dry snow and light use; 10,000 to 20,000 mm covers wet days, heavy snow and long use.